How to launch SCANeR for the first time
This guide will explain how to launch and setup your SCANeR studio for the very first time.
- Step 1. Launch SCANeR studio
-
Step 2. Create a new
Configuration - Step 3. SCANeR is ready to use!
Step 1. Run SCANeR studio
After installing SCANeR studio, double-click on the shortcut available on your desktop.
If you’re unsure how to install, everything you need is here: Install SCANeR. 😊

Once launched, a GUI will appear asking you to select a Configuration to begin.
In order to avoid modifying the DEFAULT Configuration, which will be used as a base and back-up for many future situations, you will have to create a new Configuration.
In SCANeR studio, the different workspaces you can use are called
Configurations. In the context of simulation, these differentConfigurationswill help you organize your data and simulation parameters between your different projects. For instance, if you run simulations on a Workstation, the running modules will differ from the ones used in a large Simulator environment. Through the use of differentConfigurations, you can save your parameters and data according to each use case.
Step 2. Create a new Configuration

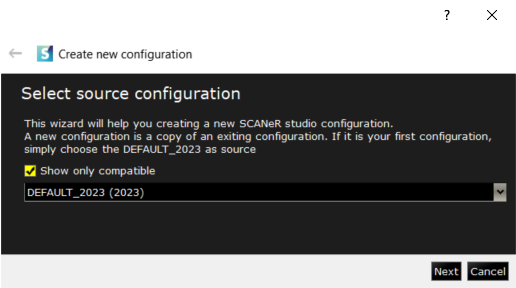
A new Configuration is a copy of an existing one. The DEFAULT Configuration is used as a basis for creating your first Configuration.
Here, your only choice will be the DEFAULT Configuration. Click on “Next”.

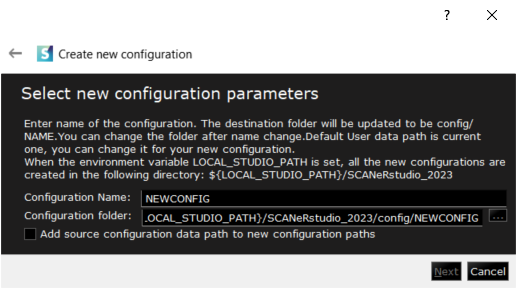
Now choose a name for your new Configuration. It can be useful to name your Configurations according to their purpose. For example, here I’ll call mine FirstLaunch.
After naming your Configuration, Click on “Next”.

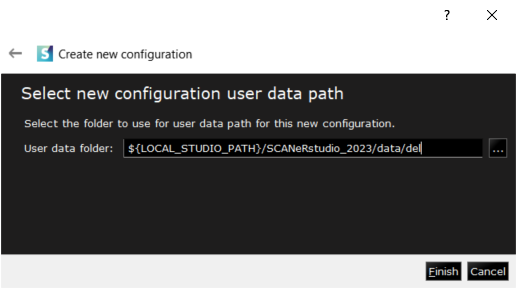
The path to the data folder of your Configuration will be found automatically with the data from other Configurations folders. Click on “Finish”.
Step 3. SCANeR is ready to use!
You’re all set! You can now run your first simulation.
If you need help navigating through the basic interfaces of SCANeR studio, read this: Navigate the user interface 😊