How to install SCANeR
This guide will walk you through the installation process for SCANeR.
Pre-requisites
If you don’t have a SCANeR studio installer yet, check out Download the evaluation version of SCANeR.
The installation of SCANeR requires full administrator privileges.
Install SCANeR
-
Unzip SCANeR archive
SCANeRstudio-2023.1rXX_Trial.zip -
Launch SCANeR installer
SCANeRstudio-2023.1rXX_Trial.exe
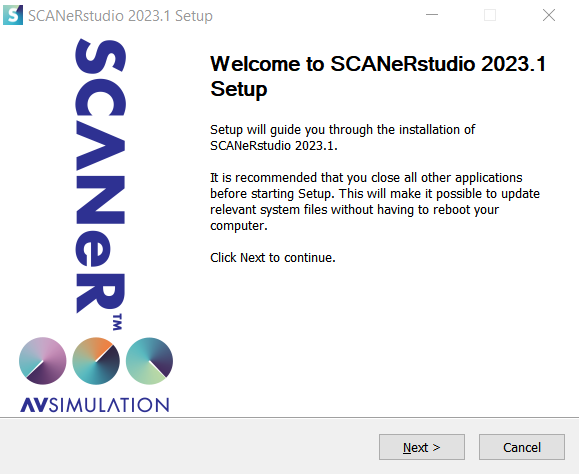
- Click
Next
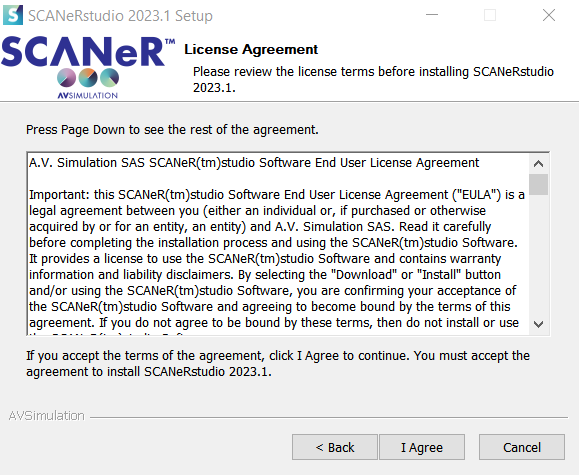
- Click
I Agree

- Leave all components selected
Info: Items include simulation data, configuration files, APIs samples and dependencies for the licensing system, sound and video management.
- Click
Next
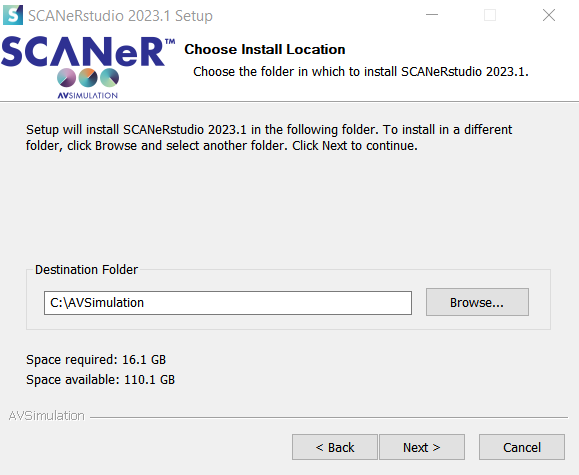
- Choose the installation folder
Note: We recommend installing SCANeR studio on a different disk than the operating system (e.g.
D:instead ofC:).
- Click
Next
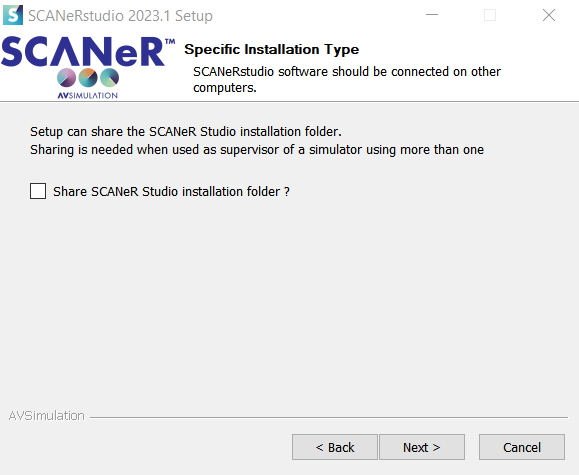
- Sharing the installation folder is required for a multi-computer configuration.
Info: SCANeR can utilize a multi-machine configuration on any architecture (workstation, simulator, HiL, Cloud) as long as all nodes (PC or VM) are on the same local network.
- Click
Next
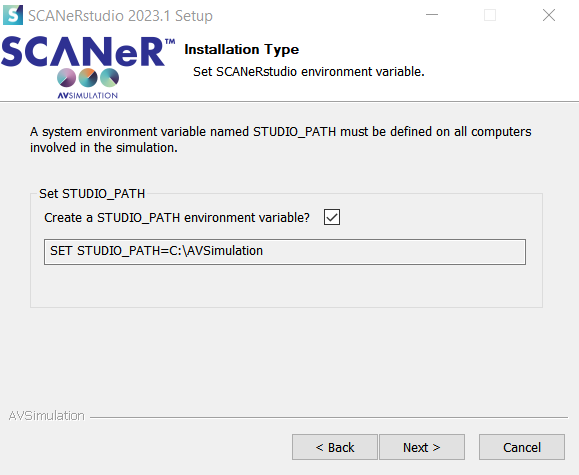
The environment variable is required for SCANeR studio to work.
-
Check the box
Create a STUDIO_PATH environment variable -
Click
Next
- Click
Next
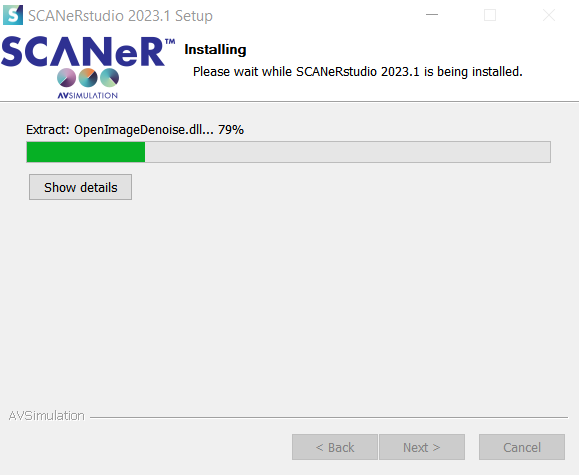
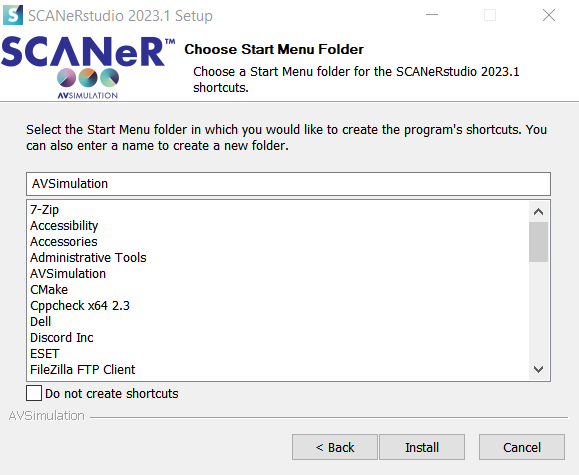
-
Wait for the completion of the installation
-
Click
Install
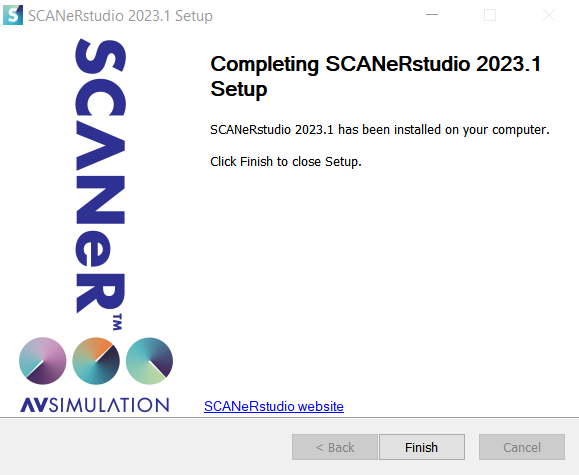
Installation is finished
- Cick
Finish
Congratulations, SCANeR is now installed and ready to run!
License
The SCANeR Trial installer includes an automatic 45 day license.