How to create a situation
In SCANeR, you can control any Scenario actors (e.g. cars, pedestrians), parameters (e.g. weather, etc.) and more thanks to M.I.C.E.
M.I.C.E is short for My Interface to Create my Experimentation. It is offered by SCANeR to enable any user to easily design storyboard by getting access to all SCANeR I/O.
With these you’ll be able to trigger any type of event (e.g. traffic jam, emergency braking, cut-in, cut-out, etc.), design custom metrics/KPI, etc.
There is no need for any development background or knowlege; M.I.C.E. is an intuitive, powerful and easy to understand tool that gives you access to more than 300 functions (e.g. pedestrianCrossRoad, getSpeed, getPosition, etc.).
There are many ways to script events. To begin, we’ll script the behavior of a pedestrian, so he crosses the road when the EGO Vehicle hits a specific position.
Step 1. Create the scenario and prepare the situation Step 2. Design your storyboard
Let’s jump into the guide!
Step 1. Create the scenario and prepare the situation
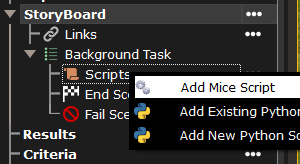
- First of all, we have to add a
Scriptto ourScenario. To do this, right click onScriptsunderStoryBoard`Background Taskand selectAdd MICE script`
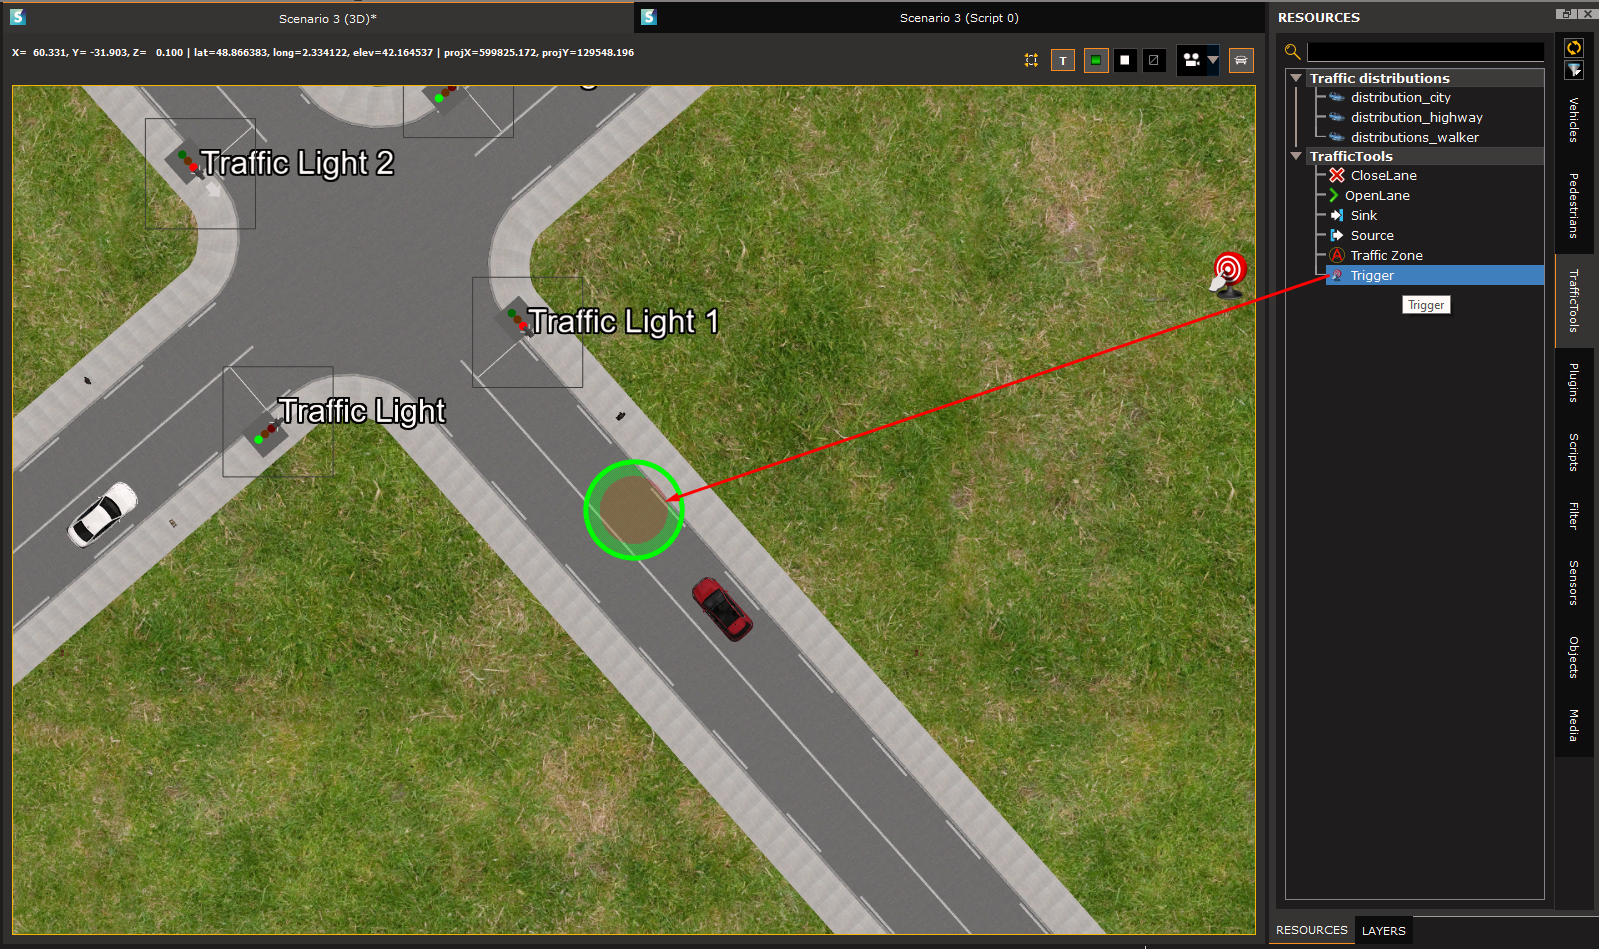
- Before editing the script, we’ll first place a
Trigger. Such tool enables us to detect a position of a specific actor and trigger an action, here we’ll use it to make the pedestrian cross the road. To do this, go in theTrafficToolstab in theResourcesdock, and drag and drop theTriggerobject in front of the EGO vehicle.
A trigger offers the possibility to monitor, in the whole 3D view, the movement of vehicles through circular or rectangular areas specified by the user.
Step 2. Design your storyboard
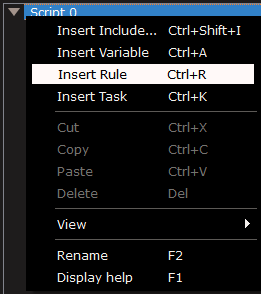
- To edit the script, double click on it, and the script editing interface opens. To start writing our script, we need to add a new
Rule. To do so, right click onScript 0and selectInsert Rule.
A
Ruleis a conditional structure to say “IF something happens THEN I’ll do that, or ELSE I’ll do this”.
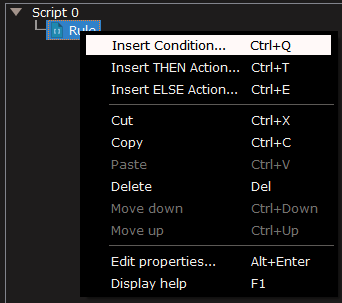
- Then you need to add a new condition to your newly created
Rule. Right click on the rule, and selectInsert Condition....
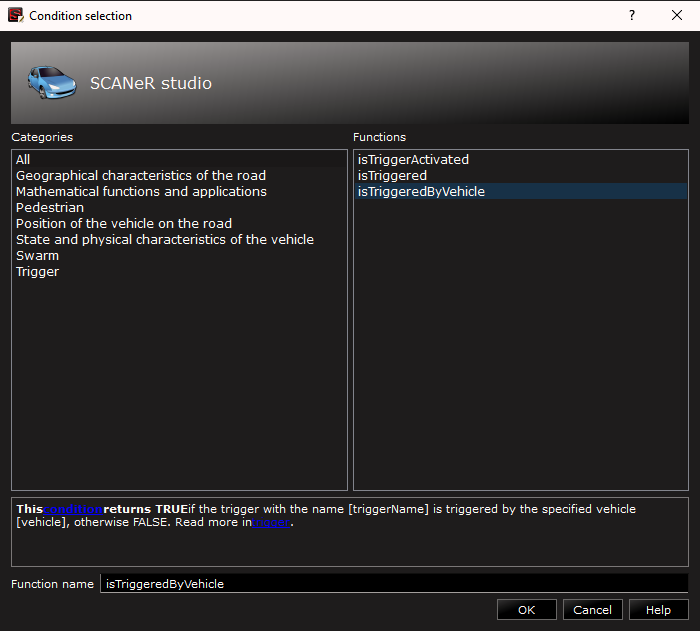
You will be prompted to choose which condition you want to add. In our case, we’ll use the isTriggeredByVehicle condition. Just type the function you are looking for in the bottom of the window and select it in the right panel.
The
isTriggeredByVehiclecondition returns TRUE if the trigger is activated by a specific vehicle, otherwise FALSE.
Keep in mind that you can always look for help in the scripting documentation by clicking on
HELP\Scripting Helpor clickF1
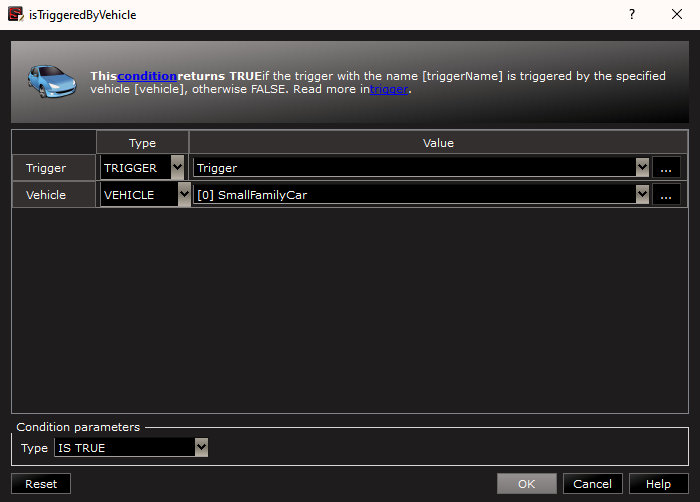
After clicking on OK a new GUI appears in order to set parameters the function correctly. In our case, the trigger named Trigger has to be hit by the vehicle called [0] SmallFamilyCar.
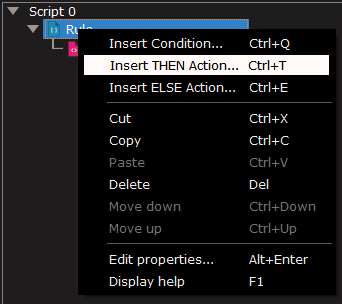
- After your condition is setup correctly, we need to select the
Actionthat will be executed when the condition is fulfilled. To do this, right click on theRuleand selectInsert THEN action....
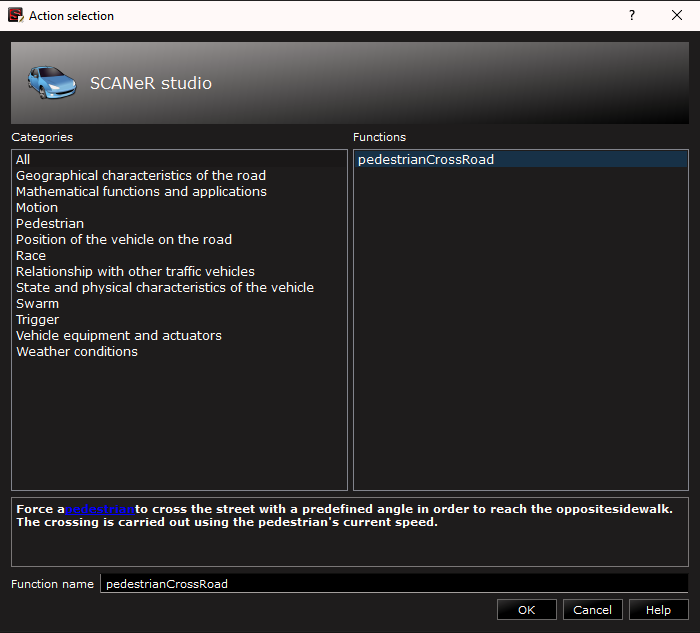
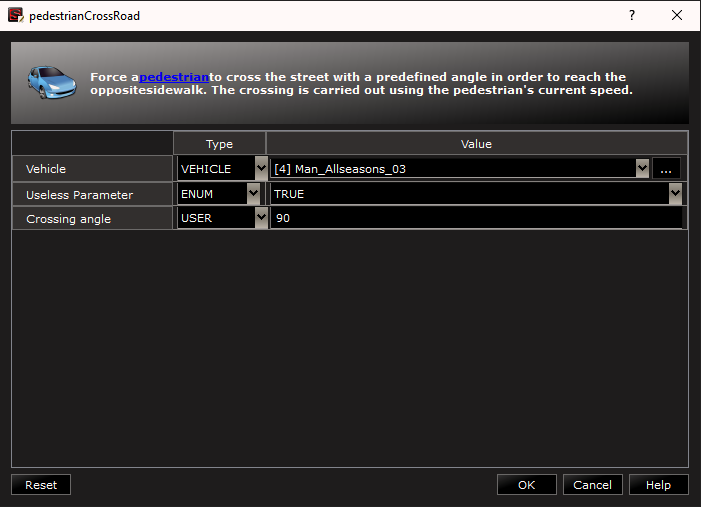
As for the Condition you have set up previously, you’ll be asked to select the function you want to execute when the condition is met. In that case, we want to make the pedestrian in front of the car cross the road. The function to do this is pedestrianCrossRoad.
In the supervision view, we want the pedestrian called Man_Allseasons_03 (which is the one in front of my EGO vehicle in my case) to cross the road. We just have to change this parameter.
-
Your Storyboard is now operational! It should look like this:

You can now save your scenario and execute it. If you need help for the execution, check out our article about it: Run a simulation
The execution of this Storyboard should look like this: