How to switch between workspaces
As a reminder, in SCANeR studio, the different workspaces you can have are called Configurations.
Tips If you run SCANeR for the 1st time and you just follow the Create your workspace Guide then you can skip this guide. This guide is necessary for SCANeR users who already have an existing SCANeR environment on their machine and want to evaluate a new SCANeR feature. Note: To create a new SCANeR Configuration, follow the instructions here: How to? Create a new Workspace in SCANeR studio
This guide will explain how to switch between different different Configurations in SCANeR studio. You will see that it is easy ![]() :
:
- Step 1. Open the Configuration Manager
- Step 2. Switch to another Configuration
- Step 3. Check which configuration you are using
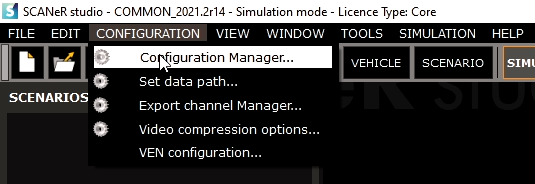
Step 1. Open the Configuration Manager
1. Click on CONFIGURATION then Configuration Manager...and a window allowing you to manage you different Configurations will appear.
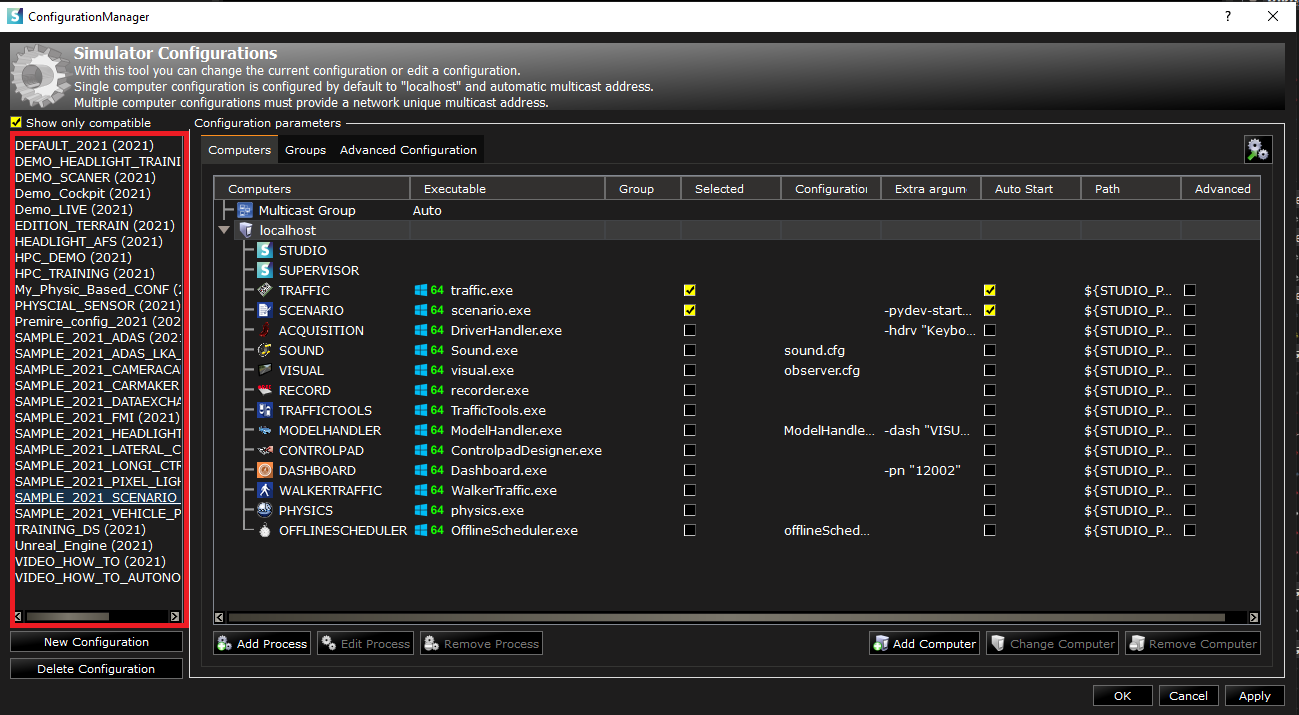
2. You can see your different available configurations here.
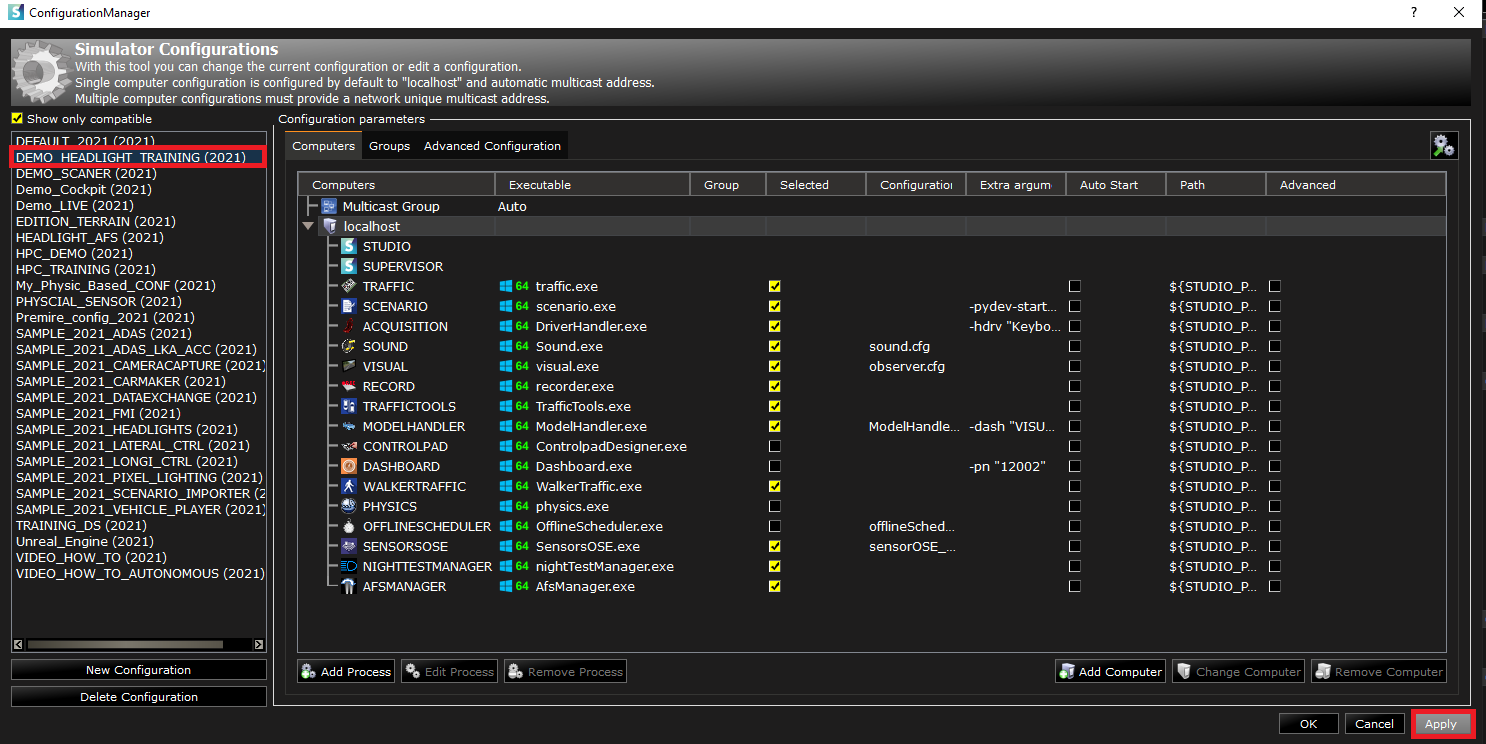
Step 2. Switch to another Configuration
You can now select the Configuration you want to open from the list and click on “Apply” in the bottom right corner of the window.
Note: Each Configuration has a specific set of settings and data that will be used when you switch to it. This helps you setup the environment according to the experiments you want to conduct. For instance, the Configuration you will use to make experiments for AD/ADAS validation will not be the same than the one you will use to make experiments for Headlight validation.
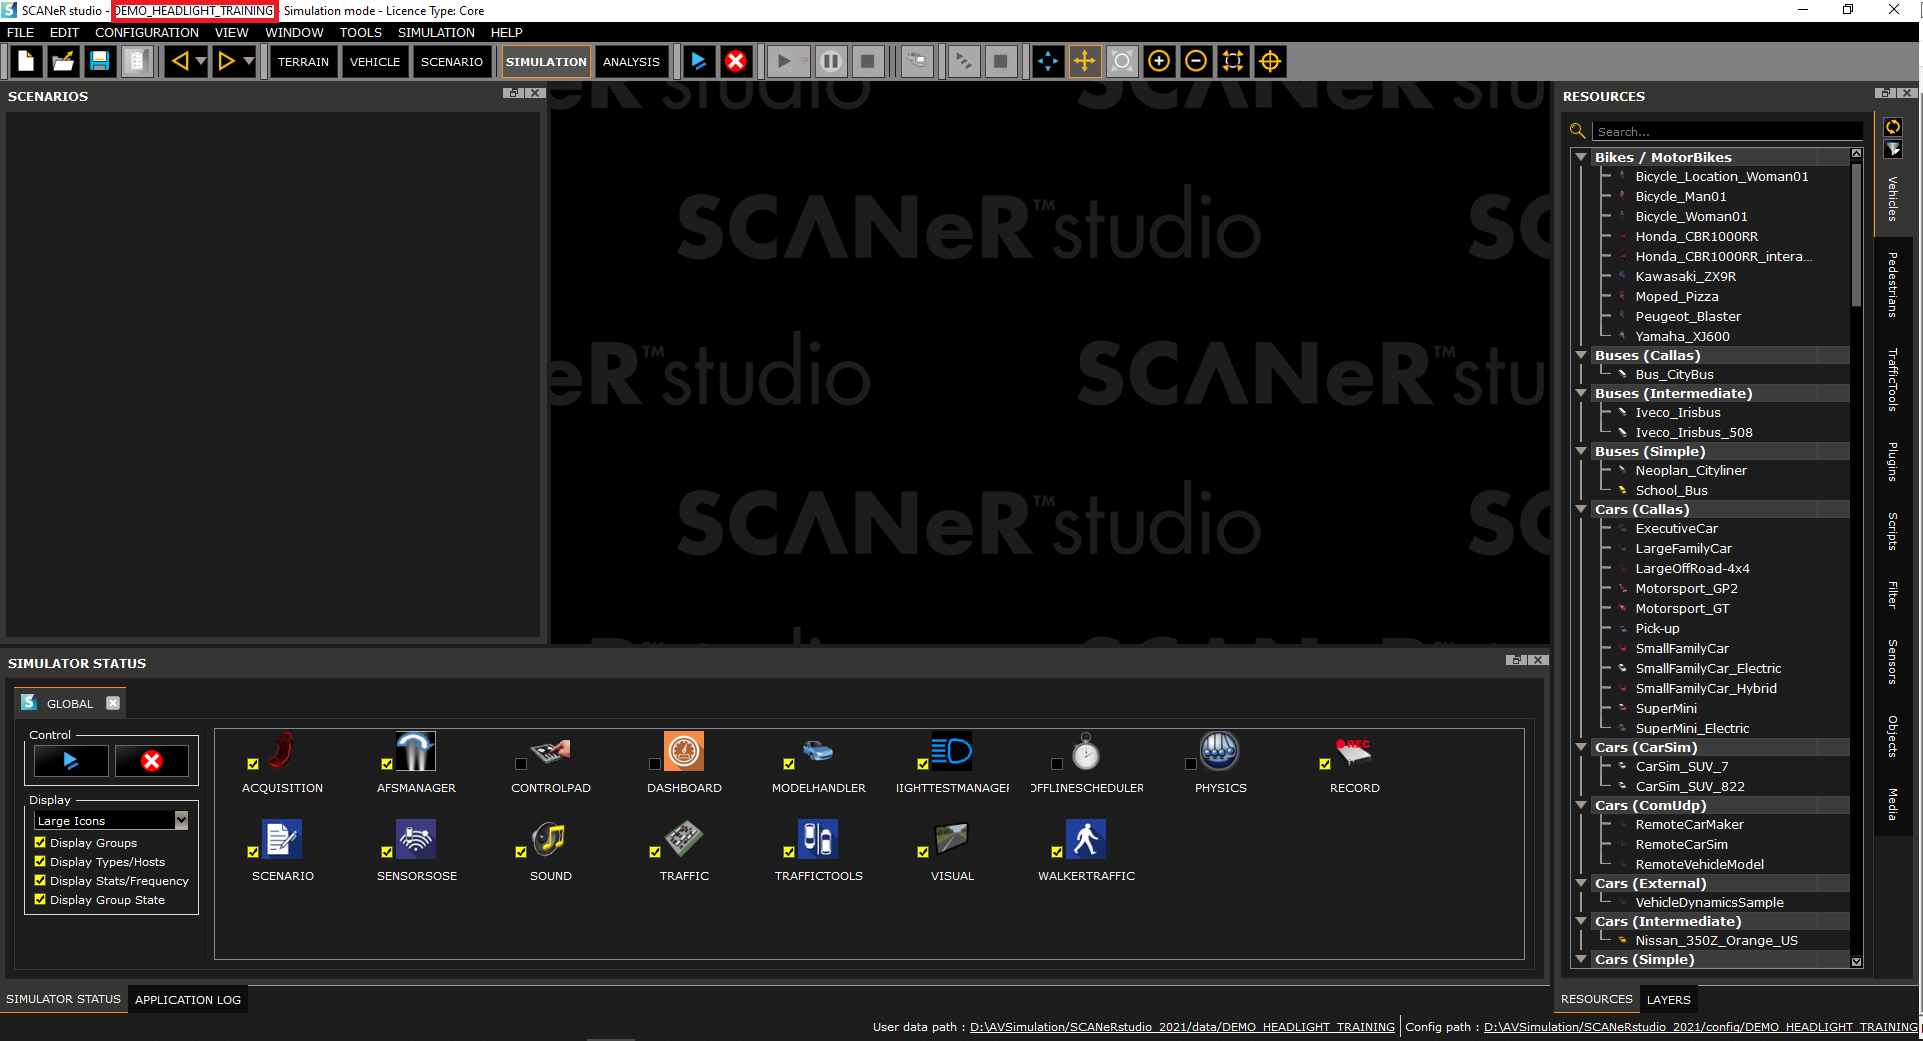
Step 3. Check which configuration you are using
You want to see if you are in the configuration you chose![]() This information is accessible in the main supervisor window of SCANeR studio
This information is accessible in the main supervisor window of SCANeR studio ![]()
Congratulations! You know now how to switch to a different work environment in SCANeR ![]() !
!